Charlotte Willis takes us on a journey to create our own perfect dairy-free yoghurts…

We stir it in, dollop it on, spoon it out and sprinkle over it. We even drink it out of tiny over-priced bottles! As a nation, we have fallen in love with this traditional Turkish ingredient, which on paper, sounds like a recipe for disaster. Take thick milk, add in bacteria and allow to ferment until you end up with a tart-tasting yoghurt. Greek-style, coconut or non-fat – the possibilities are endless. Not to mention the incredible health benefits concealed within each and every creamy, rich spoonful.
The Good Bacteria
What separates yoghurt from other dairy (or imitation dairy) products is the unique addition of probiotic bacterial cultures. Most conventional yoghurts you might buy from a supermarket are alive with the good sort of bacteria, including Streptococcus thermophilus and Lactobacillus bulgaricus. These bacteria produce lactic acid by feeding on the natural sugars available in the milk that you choose to ferment, creating the astringent and bitter taste you come to expect from yoghurt.
These bacteria are proven to help increase the health of the gut flora, aiding efficient digestion and easing stomach complaints. By enriching your gut’s bacteria, yoghurt can have other effects throughout the body by boosting your immune system and clearing your skin. Yoghurts are naturally rich in protein, calcium and potassium, with some plant-based mylks boasting high levels of zinc and magnesium – a tasty elixir for health that can be consumed in a number of different and versatile ways.
Free-From Yoghurts?
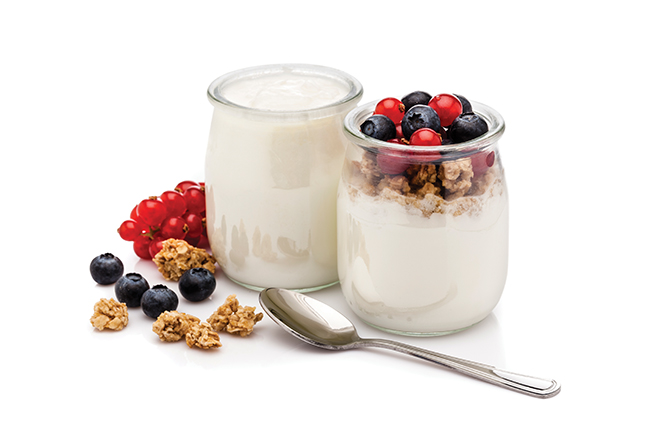
Being free-from doesn’t mean you have to shun this delicate and versatile ingredient – oh no, you’ll be able to parfait and granola your way to yoghurt paradise at your heart’s content. If milk, or more specifically lactose, isn’t your friend, you’ll be pleased to hear that almost every sort of plant-based mylk can be made into a great-tasting yoghurt with a little patience and a free Sunday afternoon. Not one to shy away from a kitchen DIY project, I have tried and tasted my own coconut and plant-mylk based yoghurts, in hope of finding a recipe that was doable and wouldn’t result in a science-experiment-gone-wrong milky-mess in my rental apartment.
In reality, you’ll need patience and be prepared to trial a few different recipes in order to perfect the balance of flavour and texture. But, once you’ve found a recipe that works in your kitchen, and you’ve mastered a few basic techniques, you’ll be able to produce your very own free-from yoghurts with ease.

The Ingredients
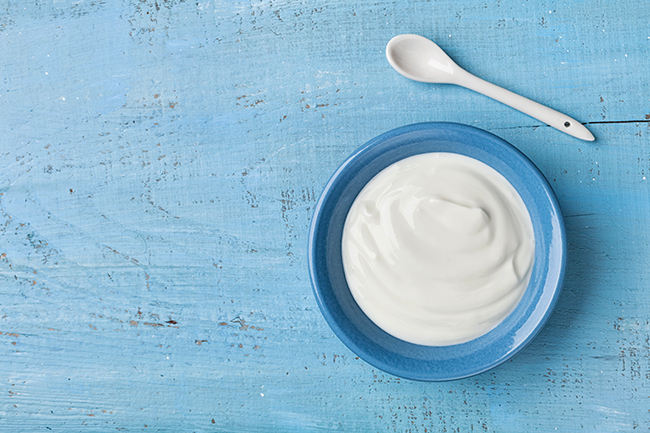
Some of my favourite free-from yoghurts actually require just two or three ingredients, yep, it really is as simple as that! I tend to use soya milk for an easy recipe, or coconut cream when I want to make a thicker, almost Greek-style, yoghurt.
The Equipment
Make sure you have the right tools for the job
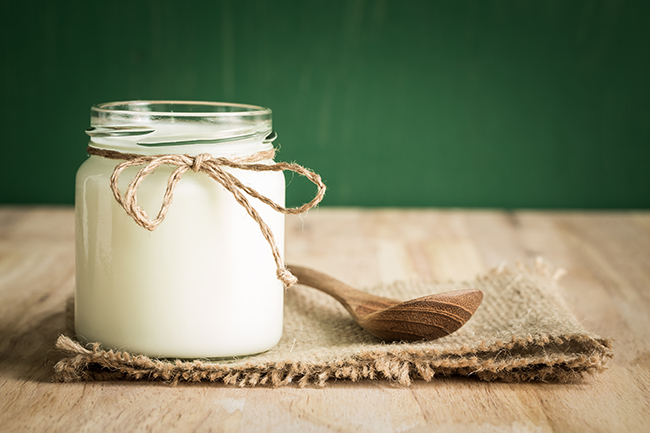
The good news is that making your own yoghurt doesn’t require a great deal of financial investment! In order to make a batch of non-dairy yoghurts, you’ll need a few basic pieces of kitchen hardware that almost everyone will already own, these are listed below. The only atypical piece of equipment you’ll have to source is a sugar or candy thermometer with a hook that will allow attachment to the side of a saucepan, which typically cost £10 or under. To store your yoghurt, plastic Tupperware is ideal, or get creative and use recycled jam jars or mason jars with a tight seal.
- A medium-sized saucepan
- A sugar/candy thermometer
- Cheesecloth or a clean
tea towel - A food processor or
blender (if making your own nut-mylk) - Wooden spoon or whisk
- Sterilised jars or containers to store your yoghurt
The Mylks
The type of mylk you choose will ultimately effect the number of ingredients and the complexity of your recipe. I would advise starting your adventures in yoghurt science with my coconut cream yoghurt recipe overleaf. For those of you who are more adventurous, try making your own almond or cashew mylks by soaking the nuts in cold water for 24 hours, blitzing in a blender and straining through a cheesecloth.
If you decide to use a shop-bought mylk, I would advise using an organic product with no added gums, stabilisers or sugars, as these will ultimately affect the outcome of your final product.
The Probiotic Capsule
Per batch of yoghurt which will use 2 cups of mylk, you’ll need to add between 1-3 probiotic bacteria capsules. These contain the live bacteria which will transform your runny mylks into a thick, rich-textured yogurt. It is essential that you use probiotic capsules containing at the very least two different forms of bacteria, and you’ll have a higher level of success by opting for a higher strength capsule with 10 billion bacteria or more.
I personally recommend Renew Life ultimate flora probiotic extra care (you can find them on Amazon and iherb). Alternatively, Jarro-Dophilus allergen free is a good vegan alternative.
What About A Thickener?
The question of a thickening agent is somewhat of a personal preference. I tend to not buy or use thickeners as I am quite happy with a thinner texture of yoghurt. However, if you are lusting over a free-from yoghurt that resembles soft cheese, I’d recommend using a thickening gum such as xanthan gum or agar agar. You’ll only need a teaspoon or two, depending on how much yoghurt you decide to make. This should be added to the mylks on heating to ensure a thorough distribution and activation of the thickening agents.

Sweetly Does It
Usually, plant-based yoghurts are slightly more tart and astringent than most dairy alternatives due to a lack of lactose (a natural milk sugar).
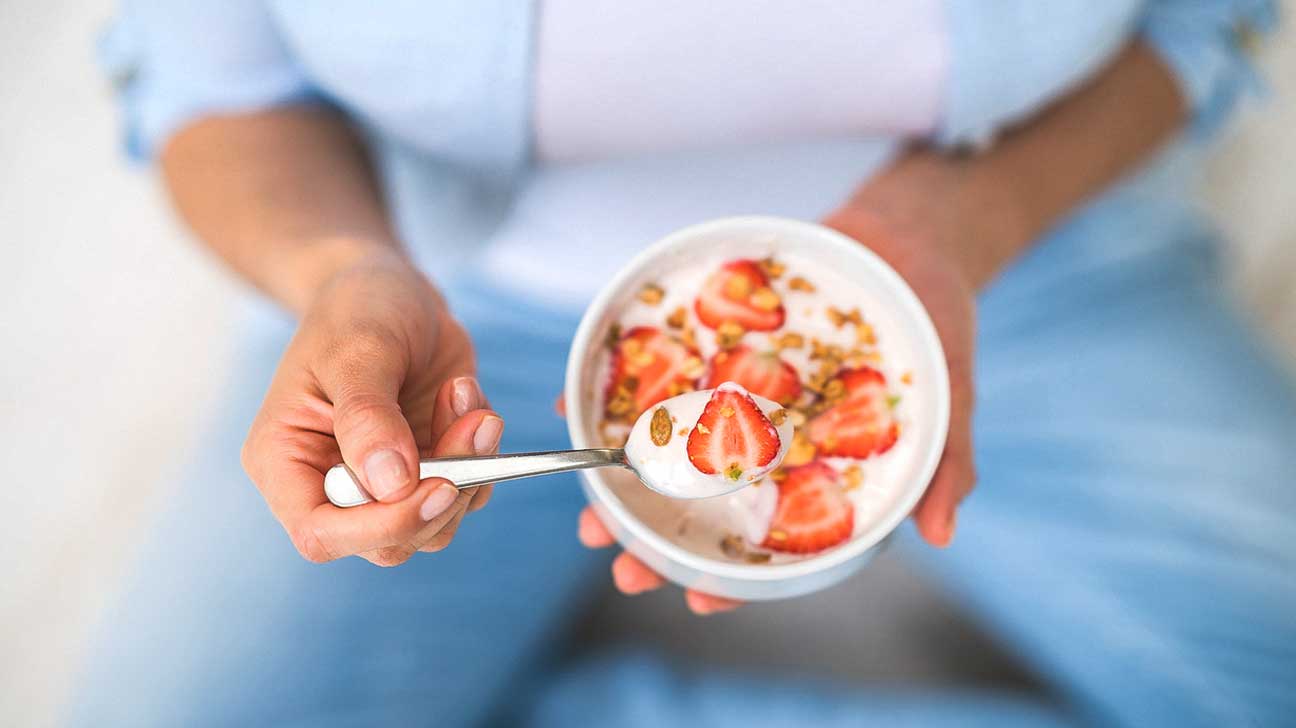
You can combat this by adding in a teaspoon of maple syrup or yacon syrup when heating the mylks. Alternatively, you can stir in a sweetener after the yoghurt has set fully. Fruit will make the ultimate natural and healthy sweetener, so try stirring through some fresh berries or chopped dates before you reach for the refined stuff.
Let It Grow, Let It Grow
The secret to a perfect yoghurt consistency is patience and a warm home (coincidentally this is the secret to living in harmony with a loved one!). Your bacteria will need
a warm environment just above room temperature in which to grow, breed and flourish inside your jars. I would recommend leaving the yoghurts covered with a piece of cheesecloth for at least 12 hours, maybe longer if you’d prefer a thicker and tarter yoghurt (I tend to leave mine for up to 48 hours as I like a stronger tang).
Some of the best places I have found to leave your yoghurts to culture are above a boiler, inside an oven that has been turned off and is still slightly warm, inside an airing cupboard, or on the top shelf of a kitchen bookshelf.
Troubleshooting Your Yoghurt
If at first you don’t succeed, try and try again…
So you’ve made a first batch of yoghurt and it didn’t turn out quite as you’d expect? Here are some of the top tips I have acquired from trial and error:
- Too Runny? Try adding an extra probiotic capsule if the taste is not tart enough. Consider adding a thickener agent such as agar agar flakes. Leave the yoghurt to ferment for longer.
- Too Thick? Reduce the amount of culture time and transfer to a fridge sooner. Use less thickening agent or add more mylk in the recipe next time.
- Too Tart? Your probiotic capsule is too strong! Try using a weaker strain. Alternatively add in a tsp of sweetener.
- Tastes Off? You may have left the yoghurt to culture for too long or used a capsule with added ingredients. Check your probiotic of choice and repeat the process. If the yoghurt tastes off, do not consume it.
Charlotte’s fool-proof coconut yoghurt recipe

- 1 tin of thick, full fat, coconut cream, shaken well
- sweetener, if desired
- 2 probiotic capsules (medium strength), contents emptied from the shell
- Lightly whisk the coconut cream in a medium saucepan to ensure an even texture.
- Begin to heat the on a low-medium heat using a sugar thermometer, until a temperature of 85ºC (185ºF) – the mixture should not boil. Add the sweetener while cooking if desired.
- Cool the cream until it reaches around 45ºC (113ºF), or to the point where it can be touched with ease. Add in the probiotic capsules and stir with a spoon.
- Pour into your containers or jars. Cover with a cheesecloth and secure using string or tape. Let the yoghurt sit in a dark and warm place for at least
12-24 hours. Cover with a tight seal, then refrigerate.
About the author
 Charlotte Willis is a student researcher of nutrition and human disease. Studying to become a Doctor of Human Nutrition, she is particularly interested in wholefood, plant-based nutrition and healthful lifestyle intervention in the prevention and reversal of chronic human diseases.
